Contents:
- Hair Structure and How Heat Creates Volume
- The Historical Context: From Salon to Home
- Essential Tools: Choosing the Right Blow-Dryer and Attachments
- Comparison: Blow-Dryer Technique vs. Air-Drying
- Step-by-Step: How to Blow Dry Hair for Volume
- Step 1: Pre-Drying Preparation (Soaking Wet Phase)
- Step 2: Sectioning (Damp Phase)
- Step 3: Root Lifting (Still Damp Phase)
- Step 4: Finger Drying for Control (Slightly Damp Phase)
- Step 5: Cooling Shot (Final Stage)
- Common Mistakes to Avoid
- Products for Volume: When to Apply
- FAQ
- Why does my blow-dried volume fall flat by afternoon?
- How often can I blow-dry without damaging my hair?
- Does blow-drying make hair thinner?
- Is there a technique for blow-drying curly hair for volume?
- What blow-dryer brands are best for volume?
The blow-dryer arrived in the 1920s as a luxury appliance, but it took until the 1960s for stylists to understand that technique mattered as much as the tool itself. Before that, people blew hair dry haphazardly, usually resulting in frizz. Modern blow-drying for volume is a precise skill that combines tool selection, sectioning, directional technique, and product timing. Mastering it transforms your hair from flat and limp to textured and full.
Learning how to blow dry hair for volume requires understanding that volume isn’t just about the blow-dryer—it’s about lifting hair away from the scalp during a phase when the cuticle is receptive to setting into that lifted position. The technique must work with hair’s natural moisture-response properties to create lasting volume rather than temporary fluff that falls flat by midday.
Hair Structure and How Heat Creates Volume
Hair is made of proteins (keratin) arranged in helical chains. When hair is wet, these proteins are swollen and flexible. As you heat and direct the hair upward, you’re essentially training those proteins to set in an elevated position. Once the hair cools, the proteins contract into that shape and hold it. This is why blow-drying works—you’re using heat’s temporary structural effect to create a shape that holds even after cooling.
However, if you blow-dry in the wrong direction, or if you over-dry (removing all moisture and making hair too brittle), the volume effect diminishes. The key is understanding that drying occurs in phases: soaking wet, damp, slightly damp, and dry. Each phase requires different technique.
The Historical Context: From Salon to Home
In the 1960s, stylists discovered that blow-drying while lifting hair against the scalp, then cooling it in that position, created volume that lasted all day. This technique, originally performed only in salons using professional-grade tools and experience, has become increasingly accessible. Modern mid-range blow-dryers (£40-100) incorporate technology that mimics professional results.
The key innovation was negative ion technology, introduced in the 1990s. Ions reduce frizz by sealing the hair cuticle, meaning you could blow-dry without damaging hair texture. Before this, many people avoided blow-drying precisely because it damaged and frizzed their hair. Contemporary blow-dryers are far gentler than their 1960s predecessors.
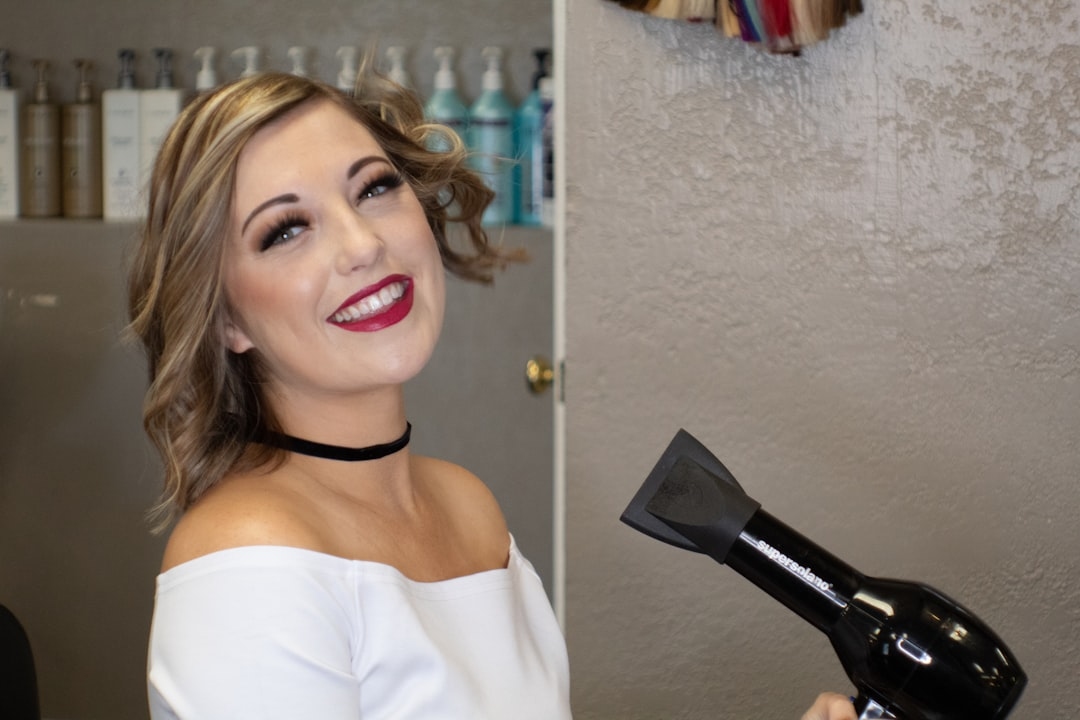
Essential Tools: Choosing the Right Blow-Dryer and Attachments
Professional-grade blow-dryers cost £150-400 but last 5-10 years. Mid-range ionic blow-dryers (£50-100) work well for home use. Budget dryers (under £30) are often underpowered and take twice as long, increasing heat damage. For volume work specifically, you need a dryer with variable heat and speed settings. High heat on low speed is counterintuitively better for volume than medium heat on high speed.
The attachment matters enormously. A concentrator nozzle focuses heat and airflow, giving you directional control. A diffuser disperses air, which is better for curly hair. For volume work, use the concentrator nozzle exclusively—it allows you to direct heat upward and shape the hair as it dries.
Ionic technology reduces frizz by approximately 40-60% compared to non-ionic dryers. If your hair is prone to frizz, this is worth the extra £15-25. Tourmaline-coated dryers (a mineral coating on the heating element) further reduce frizz and add shine.
Comparison: Blow-Dryer Technique vs. Air-Drying
Air-drying is gentler than blow-drying but produces no volume for most people. Gravity pulls hair down as it dries, eliminating lift. Blow-drying actively works against gravity, creating and setting volume. The trade-off is heat exposure. For volume, blow-drying is the only method that truly works. Air-drying plus volumising products is the gentlest alternative, but it doesn’t match blow-dried volume.
Step-by-Step: How to Blow Dry Hair for Volume
Step 1: Pre-Drying Preparation (Soaking Wet Phase)
Start with soaking wet hair fresh from the shower. Apply a heat-protectant spray to damp hair—this creates a barrier reducing heat damage by approximately 25-30%. Products like Tangle Teezer heat spray cost £6-12 and are worthwhile if you blow-dry more than twice weekly.
Rough-dry your hair using the blow-dryer on high speed and medium-high heat until hair is about 60-70% dry (still quite damp to touch but not dripping). This phase is fast and doesn’t require technique—you’re simply removing excess water. This rough-dry phase typically takes 5-8 minutes depending on hair length and thickness.
Step 2: Sectioning (Damp Phase)
Once hair is 60-70% dry, section it. Divide your head into 4-6 sections using clips. Crown and roots need the most attention for volume, so make your crown section larger than your sides. Clip sections away that you’re not actively working on. This prevents you from blow-drying already-dried sections repeatedly, which causes frizz and damage.
Start at the back, working upward. Bottom sections dry last, so start there to avoid over-drying the top while you finish the back.
Step 3: Root Lifting (Still Damp Phase)
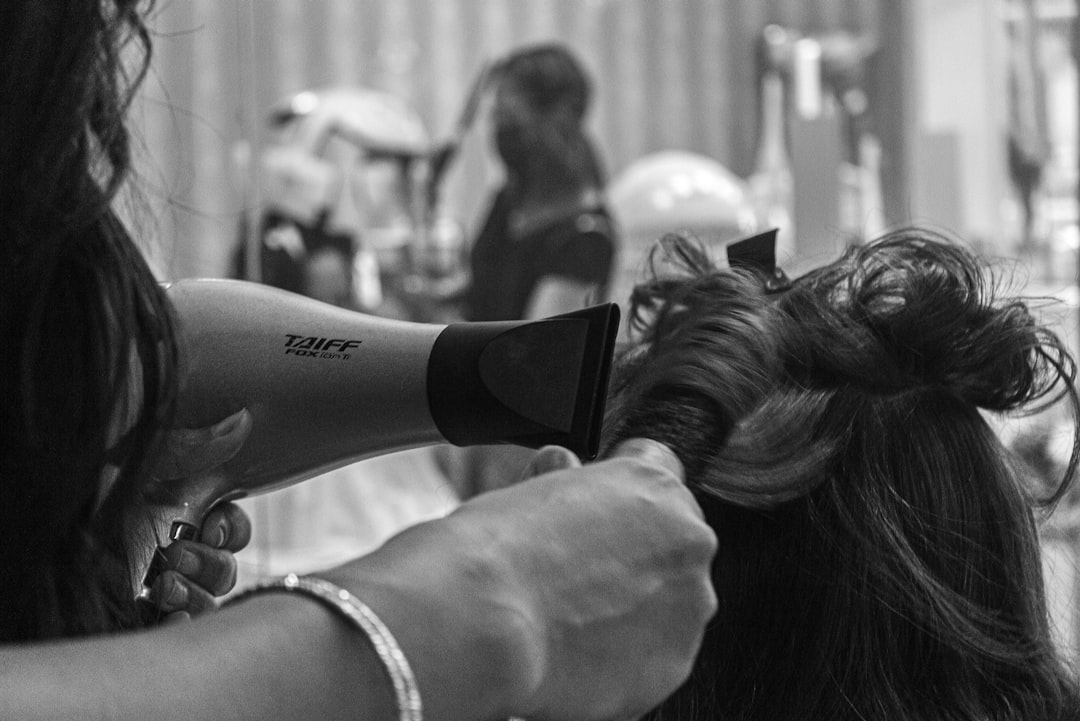
Take the first bottom section. Using one hand to hold the blow-dryer pointed downward, use the other hand to grip hair at the roots and lift it upward, away from the scalp. Direct the blow-dryer’s airflow downward, from roots to tips. The key is that you’re holding the hair stretched upward while heat sets it in that position.
Hold each section for 20-30 seconds in the lifted position. You should feel the hair getting slightly warmer and becoming slightly stiffer as protein chains re-align. Once it feels set (less stretchy, more structured), release it.
Common mistake: blowing downward on hair that’s lying flat against the scalp. This doesn’t create volume—it just dries the flat position into place. You must actively lift first, then dry.
Step 4: Finger Drying for Control (Slightly Damp Phase)
As hair approaches 85-90% dry, switch to “finger drying”—using your fingers to shape hair while the blow-dryer finishes it off. This method gives you fine control over volume placement. Point the concentrator nozzle where you want lift, use your fingers to separate and shape sections, and let the warm (not hot) airflow dry around your fingers.
This phase typically takes 5-10 minutes depending on hair length. It’s slower than rough-drying but produces significantly better volume and texture.
Step 5: Cooling Shot (Final Stage)
Once hair reaches about 95% dry, flip the heat off on your blow-dryer and use the cool shot feature for 30-60 seconds. The cool air seals the hair cuticle, locking in the volume you’ve created and reducing frizz. This step is crucial—many people skip it and wonder why their volume doesn’t last.
A professional tip from Marcus Wellington, a trichologist at the Mayfair Salon, London: “The cool shot is where amateurs differ from professionals. It takes 30 seconds and makes the difference between hair that holds volume for six hours versus 12-16 hours. Every professional blow-dry ends with cool.”
Common Mistakes to Avoid
Over-drying causes brittleness and frizz. Once hair is 95% dry, stop using high heat. The final 5% dries quickly with lower heat or no heat. Pushing to completely bone-dry takes longer and damages more.
Blow-drying downward from the start creates no volume. Always work with hair lifted upward against gravity while drying, then shape the dried result.
Blow-drying the same section repeatedly (while waiting for back sections to dry, then re-drying the front) causes cumulative heat damage. Section, work systematically, and don’t revisit sections unless absolutely necessary.
Using wrong heat level: too hot causes damage; too cool doesn’t set hair. Medium-high heat on medium-low speed usually works better than high heat on high speed. The slower the airflow, the longer heat stays on the hair, setting the shape more effectively.
Products for Volume: When to Apply
Apply volumising mousse or root-lift spray to damp (not dripping wet) hair before blow-drying. These products coat hair, making it feel fuller and thicker. Apply them to roots and mid-lengths, not tips. They cost £5-15 per bottle and typically last 2-3 months with regular use.
Dry texture sprays and sea salt sprays (£6-12) are applied after blow-drying to add grip and texture. They make hair look messier and more voluminous but provide no structural hold during styling.
Hairspray applied mid-blow-dry (when hair is 80% dry) sets volume better than applying it after. Spray lightly, let it dry for a few seconds, then finish with cool shot.
FAQ
Why does my blow-dried volume fall flat by afternoon?
Most likely cause: you’re not using a cool shot to seal the cuticle. Second most likely: hair is over-dried (too brittle to hold shape) or under-dried (cuticle not set). Aim for 95% dry before cooling. Third reason: you’re applying products after styling that weigh hair down. Apply volumising products before drying, not after.
How often can I blow-dry without damaging my hair?
Daily blow-drying is generally safe if you use heat-protectant spray and don’t exceed medium-high heat. The damage accumulates from repeated high-heat exposure plus rough towel-drying plus using low-quality products. If you’re doing all three, reduce frequency to 2-3 times weekly. If you’re using good products and technique, daily blow-drying is tolerable.
Does blow-drying make hair thinner?
Blow-drying doesn’t reduce the number of hairs on your head. However, repeated high-heat blow-drying without protection can cause breakage, making your hair appear thinner. This is damage-related, not a reduction in growth. Using heat protectant and proper technique prevents this.
Is there a technique for blow-drying curly hair for volume?
Curly hair requires different technique. Use a diffuser attachment instead of a concentrator nozzle. Focus on lifting curls away from the scalp rather than stretching them straight. Finger-dry curly hair to enhance curl definition while adding volume. Use the concentrator nozzle briefly at the end to direct fly-aways downward and smooth the cuticle.
What blow-dryer brands are best for volume?
Professional brands like Dyson (£300-400), Parlux (£120-180), and GHD (£100-150) are excellent but expensive. Mid-range ionic dryers from Revlon, Parlux, and Ghd (£50-100 range) work well. Budget brands rarely produce enough airflow for effective volume work. Invest in a mid-range ionic dryer if you plan to blow-dry regularly.
Blow-drying hair for volume is a learnable skill combining tool selection, sectioning, directional technique, and moisture-phase awareness. The technique takes 15-20 minutes to master and produces noticeably fuller, longer-lasting volume than air-drying. Start by investing in a decent ionic blow-dryer and concentrator nozzle (total £50-80), then practice the root-lifting technique in sections. The cool shot at the end is non-negotiable—it’s the difference between volume lasting two hours and lasting all day.
+ There are no comments
Add yours